
Tutorial - Digicam Stencils
Here is a tutorial for anyone wishing to
use digicam stencils on vehicles.
The stencils I used were from Critical Mass Wargames.
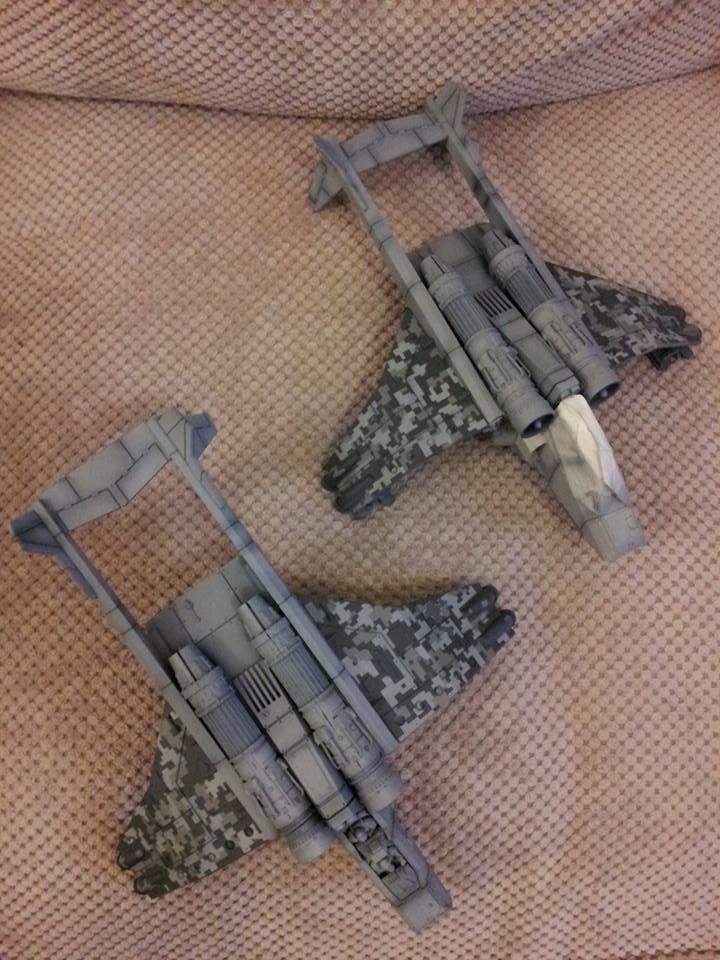
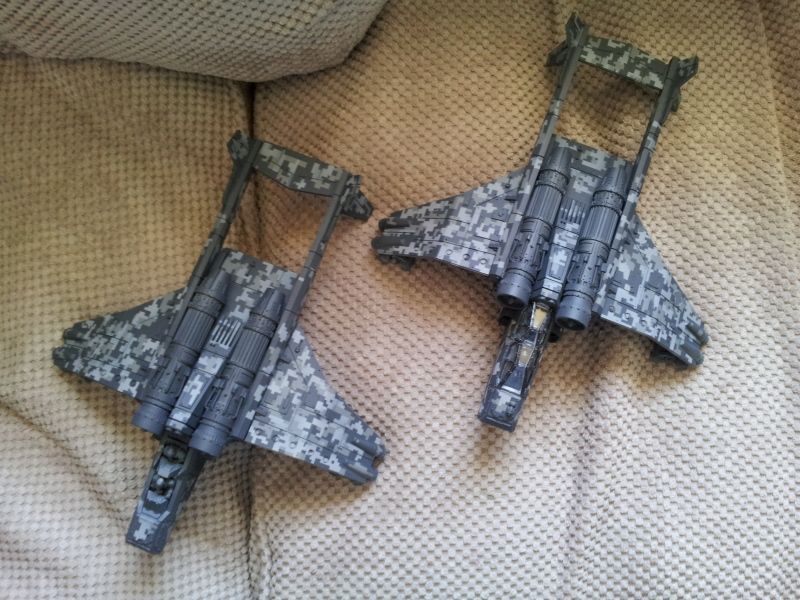
After following the tutorial after the jump, your model
should look something like this.
Light Grey
Medium Sea Grey
Dark Sea Grey
Obviously you can choose your own scheme,
or copy this one. The choice is
yours.
The first thing I did was prime the
aircraft white and preshade along the panel lines in black. With the amount of
layers going over the preshading, you might not see the benefits of preshading
on the dark colours, but it certainly helps to add depth for the lightest grey.
The first layer of paint was applied over
the preshading in the lightest colour. You can see the effects of the
preshading here. (Ignore the wings, they were done separately).
NB: Let the undercoat and first layer of
paint dry sufficiently before you start applying stencils. In an ideal world
you would Prime and Shade one day, the first layer the next day, and second the
day after, etc.
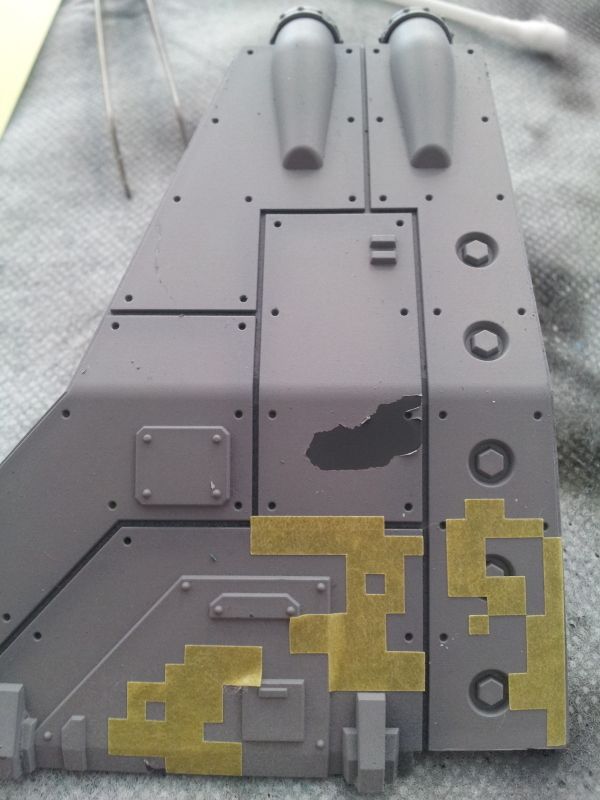
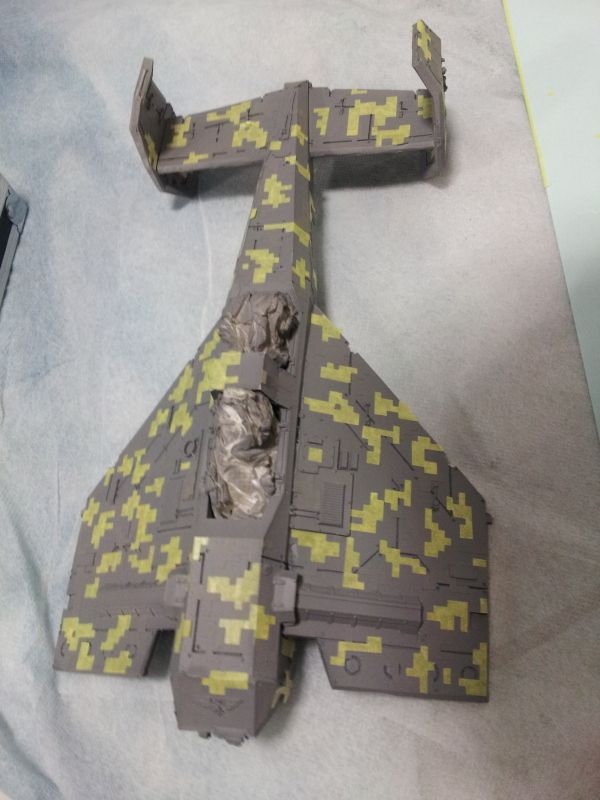
The first layer of paint is the covered
with stencils like this. Here you can see where the stencils ripped some of the
paint up when I was repositioning it, hence my warning above.
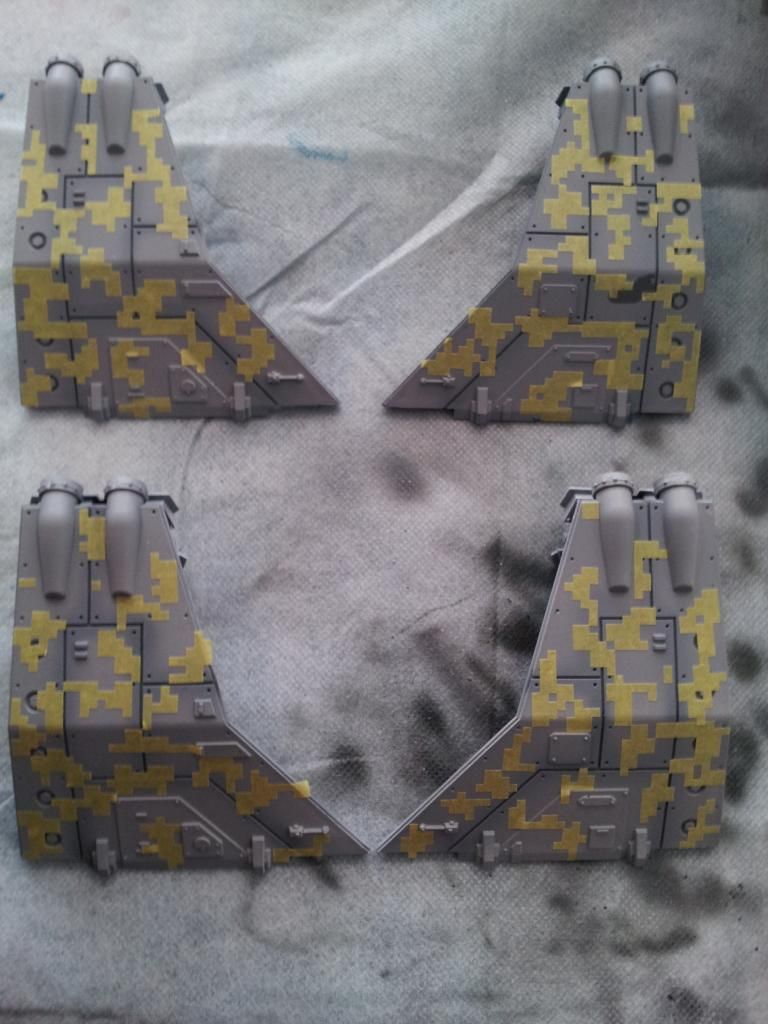
Here are the wings covered in the first
layer of templates, ready for their second coat.
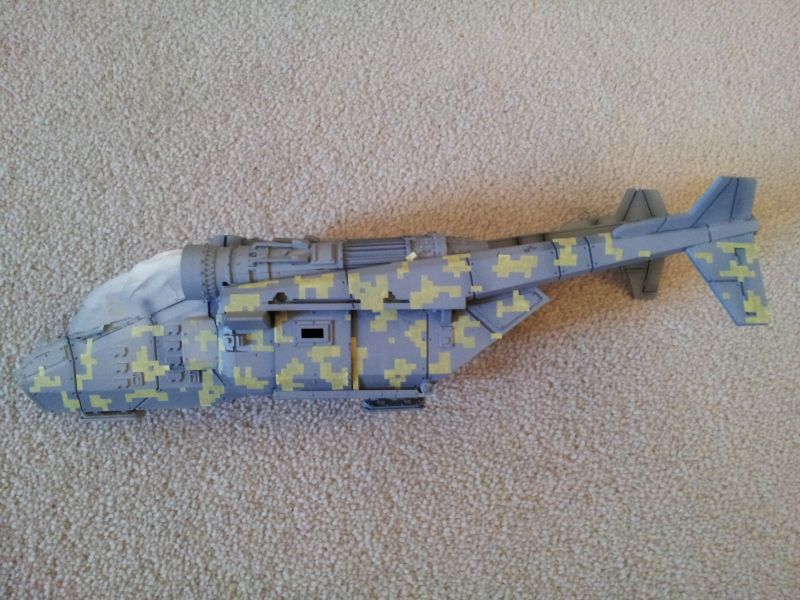
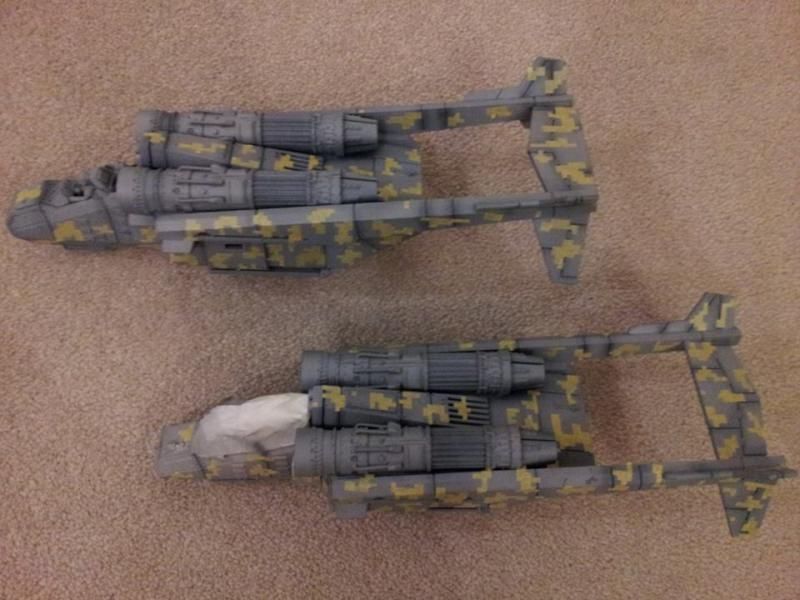
Here is the main hull covered in the first
layer of templates, before the second layer of paint.
Of course, it's up to you to decide how
much coverage you want, but the most important thing to ensure is that all the
vertical and horizontal lines match up. It's really worth taking your time over
this to get it right.
With a model like a Valkyrie, it's quite straight
forward as Imperial vehicles are very blocky and angular. The tail boons were
the only issue really. I can imagine Tau vehicles being a pain!

The second layer of stencils needs to be
carefully placed over the first layer after the Medium Sea Grey (or your middle
colour) has dried. It's important to overlap the first layer of templates. Try
and break up as much of the natural shape of the model as possible.
You are now ready to spray your third layer
of paint and wait for it to dry, properly.
Resist the temptation to peel off the
templates right away, as you will only destroy your hard work. I suggest a
sharp modeling knife to gently lift up each corner, and a pair of tweezers to
slowly peel off the rest. Any paint you rip off can be later covered up with
battle damage. (More on which later)
Anyway, with a touch of luck, you should
end up with something like this:
Be warned, this will take AGES if done
properly. I half want to add more Valkyries to my Elysian army, but I'm not
sure I can face more time putting little stickers onto the models! The surface
area of the Valkyrie hull is larger than it seems!
-
Templates are from Critical Mass Games
I must thank the guys at BuyPainted.com for
their excellent and simple-to-follow tutorials on all sorts of subjects, but
specifically for their Digicam one here.
Dangermouse
Dangermouse


0 comments
Note: only a member of this blog may post a comment.